
The pull-up is one of the clearest tests of relative upper body strength you can run without any equipment beyond a bar. It trains the lats, biceps, rear delts, rhomboids, and midline all at once, and unlike a lot of gym movements, there is no way to fake your way through one. If you cannot currently do one, the fix is not more random attempts at the bar. It is a structured progression that builds the specific strength qualities a pull-up demands.
What a Pull-Up Actually Requires
A strict pull-up demands three things working together: enough relative strength to move your bodyweight, enough scapular control to initiate the pull from your shoulder blades rather than yanking with your arms, and enough grip endurance to hold on for the full rep. Overhead range of motion matters too, since restricted t-spine mobility can prevent your arms from reaching full extension at the bottom of the rep, which quietly shortchanges your range and your progress. Most people who fail at pull-ups are not missing raw strength so much as they are missing one of these other pieces, which is why jumping straight to weighted lat pulldowns rarely translates to bar performance the way people expect.
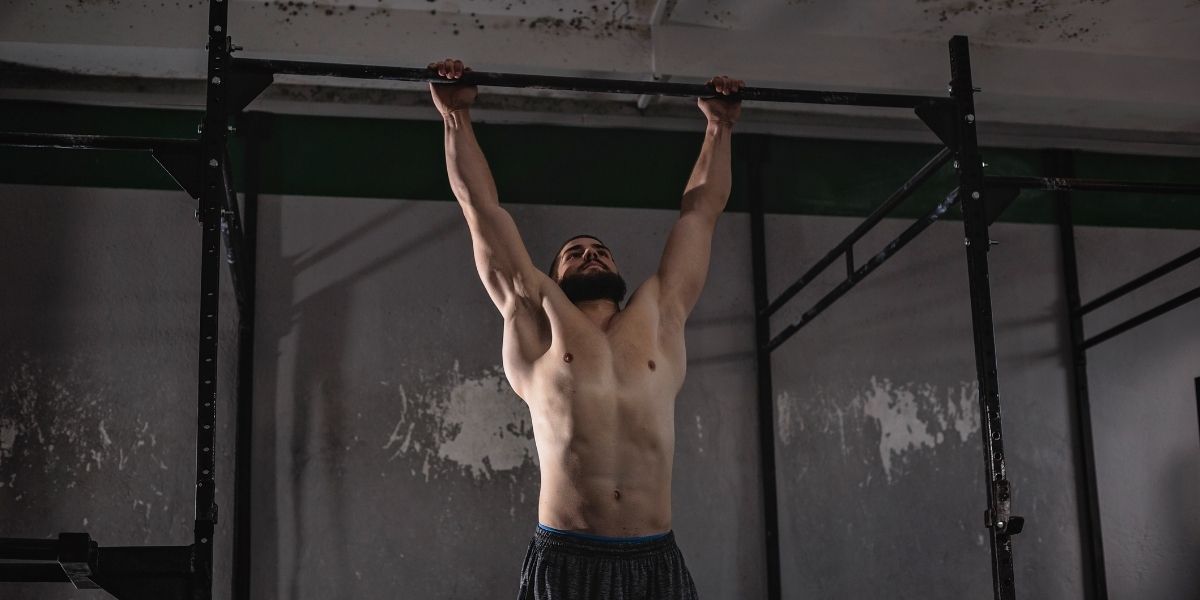
Start With the Dead Hang
Before anything else, you need to own a dead hang. Grip the bar with hands just outside shoulder width, let your shoulders fully relax, and hang for time. Thirty to sixty seconds of a controlled hang builds the grip and shoulder stability you will lean on for every later progression. If your hands give out before thirty seconds, that is the first thing to fix, not your pulling strength.
Train the Scapular Pull
From the dead hang, practice pulling your shoulder blades down and back without bending your elbows, as if you are trying to tuck them into your back pockets. This is a small movement, maybe an inch or two of travel, but it teaches your body to initiate the pull correctly instead of relying entirely on your arms. Most lifters skip this step and pay for it later with elbow and shoulder irritation from muscling through reps with poor mechanics.

Build Strength With Negatives
Jump or step up to the top position, chin over the bar, then lower yourself down as slowly as you can control. Aim for a five to eight second descent. Negatives let you train the full strength curve of the pull-up using only the eccentric portion, which is a legitimate way to build the specific strength you are missing, even before you can complete a single concentric rep. Two to three sets of three to five slow negatives, once or twice a week, is enough volume to make real progress without wrecking your recovery.
Add Band-Assisted Reps
Once your negatives are controlled, a resistance band looped over the bar and under your foot or knee lets you complete full reps with reduced load. Progress by moving to a lighter band over time rather than jumping straight to unassisted reps, since the jump in difficulty between a light band and no band is bigger than it looks on paper.

Fix Your Actual Limiter
If your grip fails before your back does, more carries and hangs will move the needle faster than more pulling volume. Rows, lat pulldowns, and loaded carries all reinforce the pull-up without the all-or-nothing nature of the bar itself. A kettlebell functional training session built around heavy carries does more for your grip and upper back stability than people expect, since carries demand the same kind of full body tension a strict pull-up requires.
Programming It Into Your Week
Two focused pull-up sessions a week, spaced with at least 48 hours between them, is enough for most lifters to see steady progress without overtraining the pattern. If you are also working on conditioning at the same time, be mindful of how you sequence things. Chasing how to improve your vo2 max with heavy interval volume on the same days as hard pulling work will blunt your recovery from both, so keep your highest intensity days for one focus or the other rather than stacking them back to back.